A Step-by-Step Guide: Creating Your Perfect Digital Business Card with TheSmartyQR
In today's digital age, your business card is more than just a piece of paper; it's your digital identity. TheSmartyQR offers a powerful platform for creating dynamic and memorable digital business cards that can leave a lasting impression. Whether you're a beginner or an advanced user, this comprehensive step-by-step guide will walk you through the process of crafting your perfect digital business card with TheSmartyQR.
Step 1: Sign Up and Log In
If you're new to TheSmartyQR, start by signing up for an account on their platform. If you're an existing user, simply log in to your account.
Step 2: Choose Your Card Template
TheSmartyQR offers a variety of professionally designed templates to choose from. Browse through the options and select a template that aligns with your personal or business branding.
Step 3: Customize Your Card
Now, it's time to make your card unique. Here's how:
a. Add Your Photo
Upload a professional photo of yourself. A high-quality image helps create a personal connection.
b. Fill in Your Contact Details
Include essential information such as your name, job title, company name, phone number, email address, and physical address (if applicable).
c. Personalize Your Message
Craft a brief and engaging message that introduces yourself or your business. This can be a warm greeting or a compelling tagline.
Step 4: Enhance with Multimedia
Take advantage of TheSmartyQR's multimedia capabilities:
a. Add Videos
Include a short video introducing yourself or showcasing your products and services. Videos can make your card more engaging and memorable.
b. Incorporate Links
Include links to your website, portfolio, or social media profiles. This allows contacts to explore more about you or your business.
Step 5: Optimize for Mobile
Ensure that your card looks great and functions well on mobile devices. TheSmartyQR automatically optimizes your card for various screen sizes, but it's a good practice to review it on your smartphone.
Step 6: Review and Edit
Before finalizing your card, review all the information and elements. Make sure there are no typos, and everything looks polished.
Step 7: Save and Generate QR Code
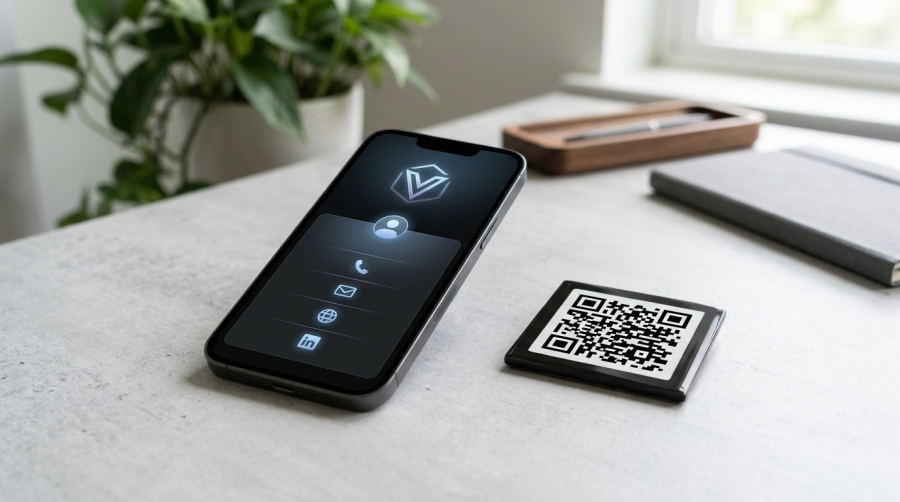
Once you're satisfied with your card, save it. TheSmartyQR will generate a unique QR code for your card. This code will allow others to access your digital business card with a simple scan.
Step 8: Share Your Card
Now that you have your digital business card, it's time to start sharing it. Here are a few ways:
a. Print QR Codes
Print your QR code on physical materials like business cards, flyers, or brochures.
b. Share via Email
Send your digital business card as an email attachment to contacts.
c. Use QR Code Apps
Encourage contacts to download QR code reader apps and scan your QR code for instant access.
Step 9: Track Interactions with Analytics
One of the advantages of TheSmartyQR is its analytics feature. Monitor how contacts engage with your card, which sections they explore, and use this data to tailor your follow-up.
Conclusion
With TheSmartyQR, creating your perfect digital business card has never been easier. Whether you're a beginner looking to establish a digital presence or an advanced user seeking to enhance your networking game, following this step-by-step guide will help you create a memorable and impactful digital business card that sets you apart in the professional world.